Customized Calendar in Flutter
Hey, have you ever wanted a date-picker in your app but not in a dialog box? And you tried all the dart packages out there but cannot change their UIs
Hitesh Verma in TECH
May 28, 2023 · 9 min read

Flutter: Custom Cupertino Date Picker
Hitesh Verma in TECH
May 28, 2023 · 6 min read
Flutter Theming | The Right Way
Hitesh Verma in TECH
May 12, 2023 · 5 min read
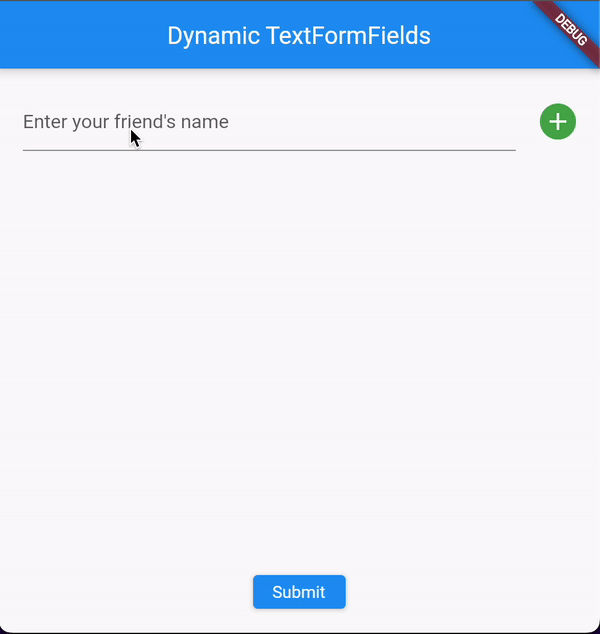
Flutter | Dynamically Add & Remove Textfields
Hitesh Verma in TECH
May 12, 2023 · 5 min read


